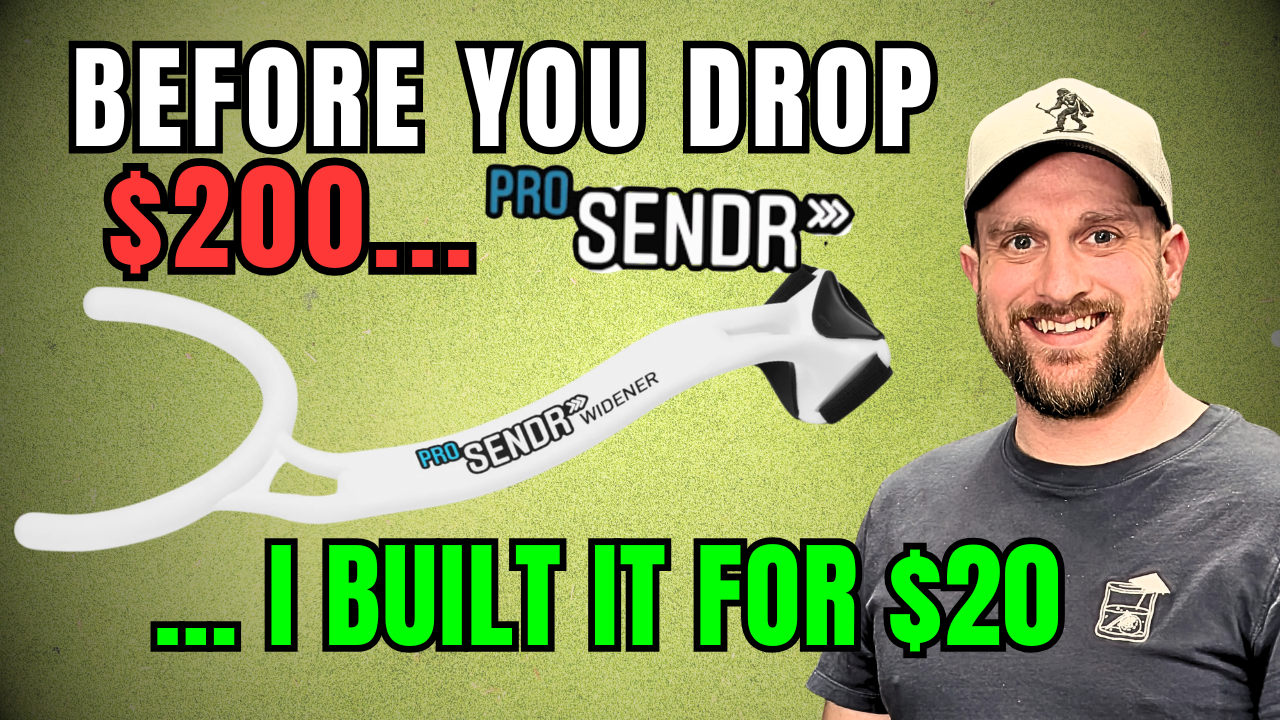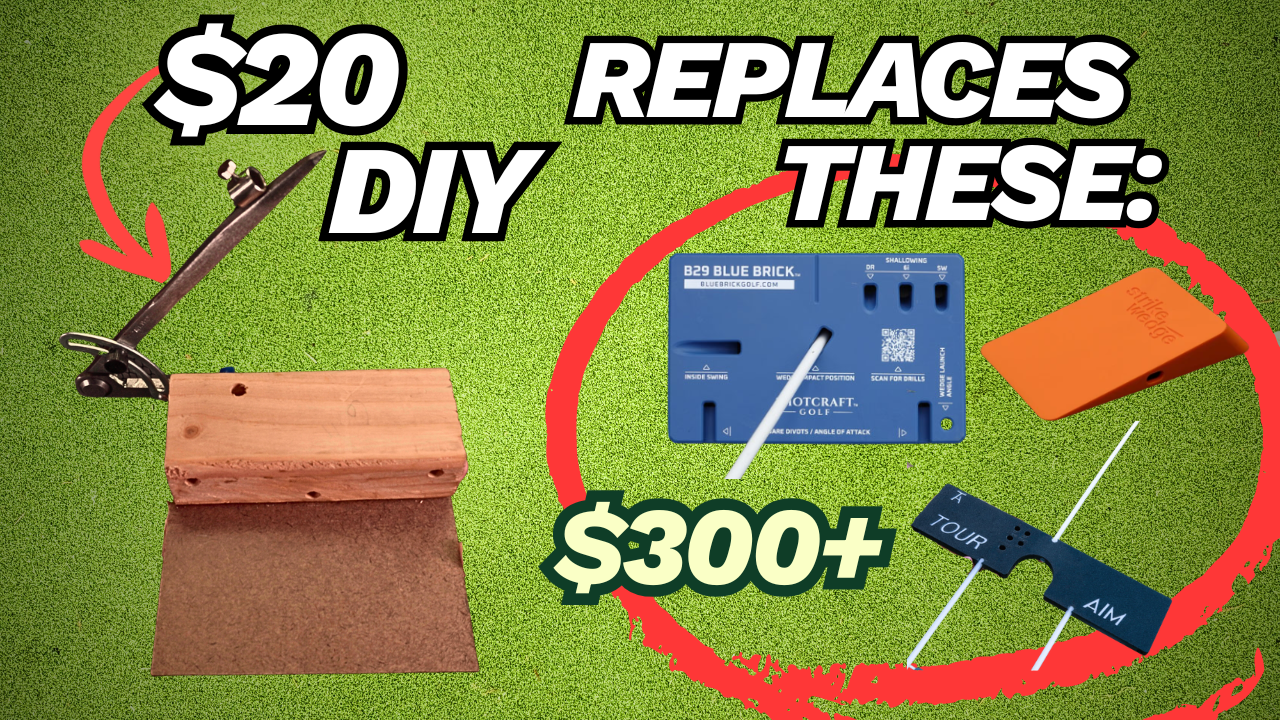
I’ve spent a lot of time testing high-end golf gadgets, from “blue bricks” to “strike wedges.” While they all serve a purpose, I wanted something that could do it all. Enter the PG Striker.
This isn’t just one tool; it’s a universal training station that helps with alignment, square face setup, angle of attack, and swing plane—all for about $20 in materials.
What the PG Striker Solves
This tool was born out of a need for a perfect setup and better low-point control. Here’s what it can do for your game:
- Square Face Calibration: Align your clubface to the back of the board using the built-in alignment stick. Sliding it back to the ball ensures you are perfectly square to your target every time.
- The “Strike Wedge” Effect: Place it 3 inches behind the ball for wedges to ensure you’re coming down on the ball with a crisp, descending blow.
- Launch Angle & Center Face Contact: With dedicated holes for alignment sticks, you can practice hitting those low, “nippy” wedges or focus on hitting the center of the face every time.
- Infinitely Adjustable Plane Trainer: Thanks to a $10 Amazon compass and a driveway marker, you can set an alignment stick to any angle to monitor your takeaway, downswing plane, or inside-out path.
Materials List
- 2×3 Wood Block: Cut to a 6-inch length.
- Tempered Board (or 1/8″ Plywood): Cut to 6″ x 6″ to match the width of your wood block.
- Steel Wing Divider/Compass: The “secret sauce” that makes it adjustable (found on Amazon for ~$10). link for compass (affiliate) https://amzn.to/4qS67X9
- Alignment Sticks: Standard driveway markers from Home Depot work perfectly.
- Electrician Staples: To secure the compass to the block.
- Wood Glue & Screws.
The Build & Cut List
- The Block: Cut your 2×3 to a 6-inch length.
- The Base Plate: Cut your tempered board to a 6-inch square.
- Drilling the Holes:
- Center Hole: 3/8″ up from the bottom edge on the front face.
- Top Holes: Two holes 3/8″ from the top edge and 1/2″ from each side.
- Side Hole: Drill a hole on the side corresponding to your “handiness” (Left side for righties, right side for lefties).
- Assembly: Glue the tempered board to the bottom of the wood block. Use screws to act as clamps and keep everything secure.
- The Compass: Hammer the steel compass onto the side of the block using electrician staples, ensuring it aligns with your side hole.
Why It Works
The inclusion of the compass is the real breakthrough. It allows you to set an alignment stick at any degree. Whether you’re working on a shallow takeaway or trying to prevent a “steak-knifing” over-the-top move, you can set the angle to match your swing plane perfectly.
This tool is universal—if you’re working on it, the PG Striker can probably help you fix it.
Want to see the PG Striker in action or share your own version? Tag me on Instagram or check out the full build video on the Project Golf – Matthew Ryan YouTube Channel. Until next time, make golf your project!